|
| EWD Projects :: Chapter 9 |
|
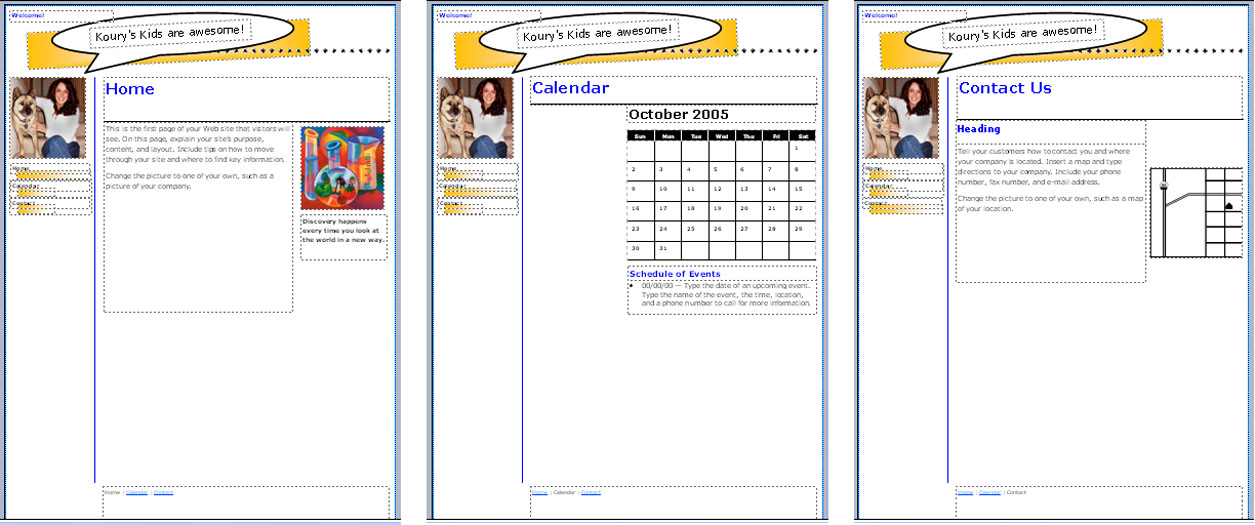
Chapter 9: Diving into Design with Publisher TemplatesDeleting ObjectsBefore deleting objects, you should clear your screen of any ruler guides. This will make identifying objects easier. To clear all ruler guides, make sure your Web site is open in Publisher and then follow these steps: 1. Click Ruler Guides on the Arrange menu 2. Click Clear All Ruler Guides. Next you might want to shrink the page view by using the Zoom drop-down list on the Standard toolbar. We suggest that you reduce the page down to about 66 or 75 percent. After you've prepared your view, you're ready to delete. To delete an object, simply select it and use any standard delete action, such as pressing the Backspace or Delete key, clicking the Cut button in the Standard toolbar, or right-clicking and choosing Cut or Delete Object. tip To select multiple objects at one time for deleting, press CTRL while you click the objects to be deleted. When you execute the cut or delete process, all selected objects will be removed. For this walkthrough, you will delete items on each page so your pages will appear as shown here.
Deleting template objects on the home page and subpages First, delete the following objects on the home page (page 1): · The horizontal rule line above the To Contact Us box · All three text boxes associated with the To Contact Us area · The short black vertical rule line to the right of the To Contact Us area Next, on page 2, clear all the ruler guides and delete all the text boxes except the calendar and the footer box. Finally, on page 3, delete all objects in the main area of the page except the Heading box, the large text box below the Heading box, the placeholder map, and footer area.
|
||
 |
|
|